There's a certain magic that fills your kitchen when a pot of homemade chicken stock simmers gently on the stove. The rich, savory aroma promises warmth, comfort, and unparalleled flavor. While store-bought cartons offer convenience, learning how to make chicken stock from scratch is a culinary game-changer that promises a depth of taste and nutritional value that simply can't be replicated. It's not just about creating a base for your favorite dishes; it's about transforming humble ingredients into liquid gold, saving money, and elevating your home cooking to new heights. If you're looking to enhance your culinary repertoire and enjoy the benefits of wholesome, flavorful ingredients, then mastering the art of homemade chicken stock is a skill worth acquiring. For more on the economic and culinary advantages, check out our guide on Easy Chicken Stock: Save Money & Elevate Your Home Cooking.
Why Homemade Chicken Stock Reigns Supreme in Your Kitchen
The allure of homemade chicken stock extends far beyond its delicious taste. It's a cornerstone of classic cuisine, an essential building block that lends richness, body, and a complex savory profile to an endless array of dishes. Here's why making your own is an endeavor you won't regret:
- Unmatched Flavor and Depth: Store-bought stocks often contain additives and preservatives that detract from a pure chicken flavor. Homemade stock, on the other hand, extracts the very essence from bones, meat scraps, and fresh vegetables, resulting in a cleaner, richer, and more nuanced taste. The gelatin extracted from bones gives it a luxurious mouthfeel that supermarket versions can rarely achieve.
- Cost-Effective and Resourceful: Making stock is an incredibly thrifty way to utilize what might otherwise be discarded. Chicken carcasses from a roasted bird, leftover bones, wing tips, and even vegetable scraps (onion peels, carrot tops, celery ends) can all contribute to a magnificent stock. This approach reduces food waste and stretches your grocery budget further.
- Control Over Ingredients: When you make your own stock, you dictate exactly what goes into it. This means no excessive sodium, no artificial flavors, and no ingredients you can't pronounce. It's a healthier choice for you and your family, especially for those with dietary restrictions.
- Aromatic Experience: The gentle simmering of chicken, vegetables, and aromatics fills your home with an incredibly comforting and appetizing aroma. It's an experience that enriches your cooking journey even before the first spoonful is tasted.
Essential Ingredients for Your Flavorful Broth
The beauty of chicken stock lies in its simplicity. While you can certainly get creative, a few core ingredients form the foundation of an excellent broth. This recipe yields approximately 2 quarts of delicious stock.
Ingredients:
- 2 pounds chicken parts: This is where thriftiness shines! Use carcasses from roasted chickens, backs, necks, wings, or any bones leftover from butchering a whole chicken. These parts are rich in cartilage and bone marrow, which contribute gelatin and flavor.
- 2 medium onions: Quartered or roughly chopped. No need to peel if you're straining later; the skins add color.
- 2 medium carrots: Peeled, ends trimmed, and cut into large chunks.
- 2 stalks celery: Washed thoroughly, including leaves, and cut into large chunks.
- 15 whole black peppercorns (optional): For a gentle hint of spice.
- 1 bay leaf (optional): Adds a subtle, aromatic depth.
- Optional additions for extra complexity: A few sprigs of fresh parsley, a clove or two of garlic (smashed, not peeled), or even a tablespoon of apple cider vinegar (which helps extract minerals from the bones).
Equipment You'll Need:
- A large, heavy-bottomed stockpot (at least 6-8 quart capacity)
- A fine-mesh sieve or colander
- A large ladle or shallow spoon
- Storage containers
Your Step-by-Step Guide: How to Make Chicken Stock
Ready to embark on this rewarding culinary adventure? Follow these straightforward steps to create your own liquid gold.
Step 1: Prep Your Chicken (Roasting Optional, but Recommended)
Place your raw chicken bones and pieces in your large stockpot. For an even deeper, more complex flavor and a richer color, consider roasting the chicken parts first. Spread them on a baking sheet and roast at 400°F (200°C) for about 20-30 minutes, or until lightly browned. This caramelization process, known as the Maillard reaction, significantly intensifies the flavor of your stock.
Step 2: Chop & Combine Your Aromatics
While precision isn't necessary here (everything will be strained out), a rough chop is perfect. Quarter your onions, cut carrots into thirds, and celery into large chunks. Add these chopped vegetables, along with your optional peppercorns and bay leaf (and any other desired aromatics like garlic or parsley), to the pot with the chicken.
Step 3: Simmer to Perfection
Pour enough cold water over all the ingredients to cover them by about 1-2 inches. Starting with cold water is crucial as it allows impurities to rise to the surface as the water slowly heats, resulting in a clearer stock. Bring the water to a near-boil, then immediately reduce the heat to the lowest possible setting. The goal is a gentle, continuous simmer, not a rolling boil, which can make your stock cloudy and extract bitter flavors. Let it cook for at least 2 hours, or up to 4 hours for a richer flavor. As foam and scum rise to the surface during the first 30-60 minutes, use a ladle or shallow spoon to skim it off. This step is key for achieving a clear, golden stock.
Step 4: Strain & Cool Thoughtfully
Once your stock has simmered, the chicken and vegetables will have given up all their goodness. Carefully remove the large solids (chicken, vegetables, bay leaf) from the pot using tongs or a slotted spoon and discard them. Then, strain the remaining liquid through a fine-mesh sieve or colander into a clean heatproof container. This will catch any smaller bits of bone, vegetable pulp, or spices, ensuring a perfectly clear stock.
Now, it's crucial to cool the stock rapidly to ensure food safety. Do not leave it at room temperature for more than 2 hours. A good method is to place the pot or container in an ice bath in your sink, stirring occasionally, until it cools down significantly. Alternatively, transfer it to smaller containers to expedite cooling, then refrigerate immediately.
Step 5: Chill & Skim Fat
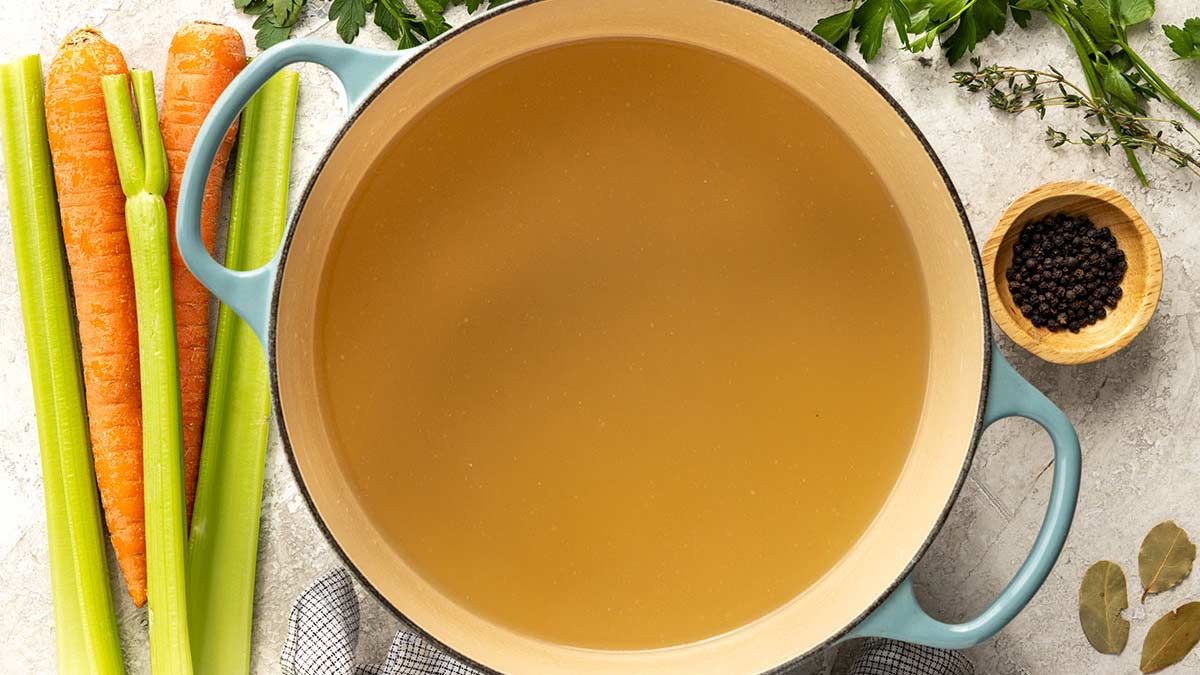
Refrigerate the stock overnight. As it chills, any remaining fat will solidify on the surface, forming a cap. This makes it incredibly easy to spoon off and discard, leaving you with a beautifully clear, low-fat, golden stock. Your finished stock should be a clear, light-tan color, with virtually no fat on the surface.
Storing Your Liquid Gold: Tips for Freshness and Convenience
Once cooled and skimmed, your homemade chicken stock is ready to use! Proper storage ensures you can enjoy its benefits for weeks or even months.
- Refrigeration: Store in airtight containers in the refrigerator for up to 3 days.
- Freezing: For longer storage, freeze your stock. You can pour it into freezer-safe containers, leaving about an inch of headspace for expansion, and freeze for up to 6 months. For convenient single-serving portions, freeze stock in ice cube trays. Once solid, pop the frozen cubes into a freezer-safe bag. These smaller portions are perfect for adding a splash of flavor to sauces, gravies, or sautéed vegetables.
For more in-depth advice on maximizing the shelf life and utility of your homemade stock, refer to our article: Homemade Chicken Stock: Make, Store, and Use in Any Any Recipe.
Unleash the Flavor: Creative Uses for Homemade Stock
The versatility of homemade chicken stock is truly remarkable. It's not just for soup!
- Soups and Stews: The most obvious, yet most impactful use.
- Sauces and Gravies: Adds incredible depth and body.
- Cooking Grains: Use it instead of water for rice, quinoa, couscous, or risotto for a richer flavor.
- Mashed Potatoes: A splash of hot stock can replace some of the milk or butter for a lighter, more savory mash.
- Braising Meats: Perfect for tenderizing and flavoring pot roasts, short ribs, or chicken.
- Pan Sauces: Deglaze a pan after searing meat for an instant, flavorful sauce.
- Steamed Vegetables: Add a bit to the steaming liquid for infused flavor.
Mastering how to make chicken stock is a journey that pays dividends in flavor, economy, and culinary satisfaction. It’s a foundational skill that unlocks a world of delicious possibilities in your kitchen. So, gather those chicken bones, chop some vegetables, and prepare to fill your home with an aroma that signals deliciousness is on its way. You’ll taste the difference, and your palate (and wallet!) will thank you.
